I did a fair bit of reading up on LinuxCNC and watching YouTube videos before settling on what I ended up putting in my lathe for brains. I could have bought an off the shelf Fanuc controller or something like that, but let's face it -those are extremely expensive.
There is lots of talk about the hardware requirements for LinuxCNC. I was a little worried about them because it can be hard to find a computer with a parallel port these days, especially one that has any decent performance. Then, even with a computer that does have a parallel port if the computer's parallel port is generating the step and direction pulses for the servos you've got to make sure it can reliably generate evenly spaced pulses pretty quickly unless you're ok with really slow servo speeds or jerky movements.
One of my main goals was to be able to thread on my CNC lathe. As such I knew that I'd need a spindle encoder with that comes process control. When cutting a thread on a lathe, the X axis is set at some depth and then the Z is moved at some rate proportional to the spindle RPM to generate a specific thread pitch. For example, say I want to cut a 1.0" 20 TPI thread and the spindle is moving at 300 RPM. For every revolution of the spindle, the Z axis will need to move 0.050". It must do this smoothly or you won't get a nice clean thread. It must also do this many times starting with the cutting edge of the threading tip at say 0.990", then at 0.980, then maybe 0.975 and so on all the way down to maybe 0.924" for a full 100% thread. Each time it moves in in diameter and starts a new cut it must enter the cut where the groove of the thread already is, or it's cutting a new thread that is rotated with respect to the previous thread.
As you can imagine this is a complicated ballet. The brains need to know where the spindle axis is in its rotation all the while knowing where the Z axis is so that it can feed the cutter into the thread at just the right moment. This is where the process control comes in. One axis must wait for another axis and make it's movements proportionally to the movements of the other axis.
With process control there must be feedback from the brains to the servos. Say the spindle isn't turning quite as fast as it was told to turn, the Z axis must be delayed in the case of the threading example. The real question is where does this process control happen. I wasn't sure where it happened and didn't want to dive headlong into LinuxCNC code to find out. I decided to take a chance. Instead of buying a tower computer with a parallel port I decided to get a MintBox and connect my "motion controller" via ethernet. I figured that for this way to work, the only way that was possible was that the Mesa card would be buffering commands and also handling the spindle synchronization.
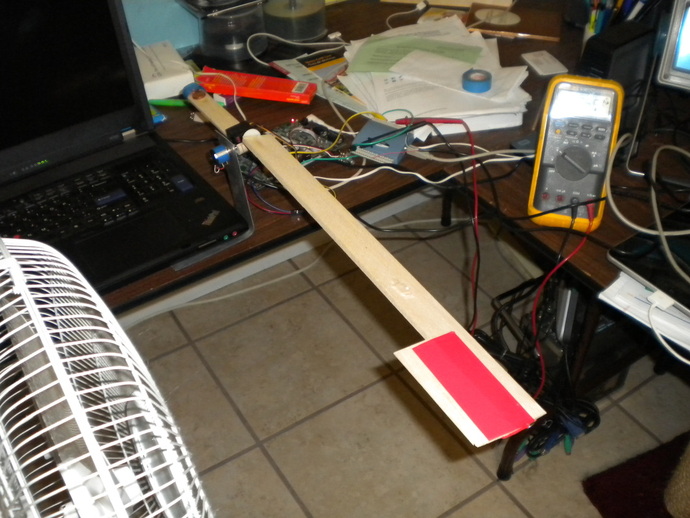
Here is a sneak preview of how things worked out
As explained previously, without fully understanding the system I opted for the Mesa cards. I'm going to jump forwards a few months here and tell you how it worked out.
I made absolutely the right decision. Mesa Electronics makes a fantastic bunch of electronics for amazing prices. I was able to get my lathe up and running using their product and a pretty basic computer that certainly didn't have the max-jitter requirements recommended by LinuxCNC. I can't say enough good things about the Mesa cards. There is no way anyone could make as good a setup as I have with a tower computer and a parallel port. As you'll see later in this blog when I publish my .hal and .ini files I can generate steps much faster than any parallel port and much more consistently.
I decided to use a Mesa Electronics 7i92E and 7i76 breakout board for the 7i92E. If I had been only slightly more clever I would have used the 7i76E which is basically a 7i76 breakout with a 7i92 on it and it would have saved me a few bucks. The reason to use the 7i92E and a 7i76 is that I think you could plug two 7i76's into a 7i92 in case you needed more axes or more I/O pins.
The Mesa cards are FPGA's, and as such are extremely fast at the "math" they're programmed to do. For example, if I remember correctly, the spindle encoder input on the Mesa 7i76 is good to 10 MHz. There is no way that the parallel port on any computer could read encoder inputs at 10 MHz.
LinuxCNC makes a big deal about determining if your computer is fast enough to properly run the various threads. In the standard parallel port configuration it needs to be a really fast computer so that steps are generated at the proper timing and aren't interrupted by some other process on the computer. With the Mesa cards I wasn't sure that this was the case. My reasoning here was that the step generation is done by the FPGA and I was pretty sure it was buffered since it's via eithernet and there is enough overhead with the ethernet protocols that latency would be an issue if things weren't buffered.
The FPGA runs at a clock frequency of 50 MHz, so it could theoretically generate something like 50 million steps per second if it could do one every clock cycle. I've got 20,000 count per revolution servos that can go up to 3000 RPM . At full speed of 3000 RPM I'd need 1,000,000 steps per second. That seemed to give me plenty of headroom. It should also be noted that at 3000 RPM my axes would be moving at 600 inches/minute which is much faster than I'd be comfortable with anyways.
Anyhow given all this I made a bet on the Mesa card, and it's really paid off. That said, because I went that route, most tutorials and information on the internet had to be slightly modified to meet my needs, but it really wasn't a big deal.


 RSS Feed
